
This is a personal piece following on from some client work exploring internal render settings. It was pushed out in Cinema 4D R15 and I went with the physical renderer, there was quite a lot of post in After Effects.
If you're interested in the process then scroll down to get a glimpse of how I arrived at the final work.

Above: The final render. The key light is an area light off to the right behind and above the sofa. There are also smaller area lights on the lower right and upper left sections of the wall unit
The lamps, right and left, have spotlights in them helping to cast some interesting shadows.
A lot of post-FX included here.
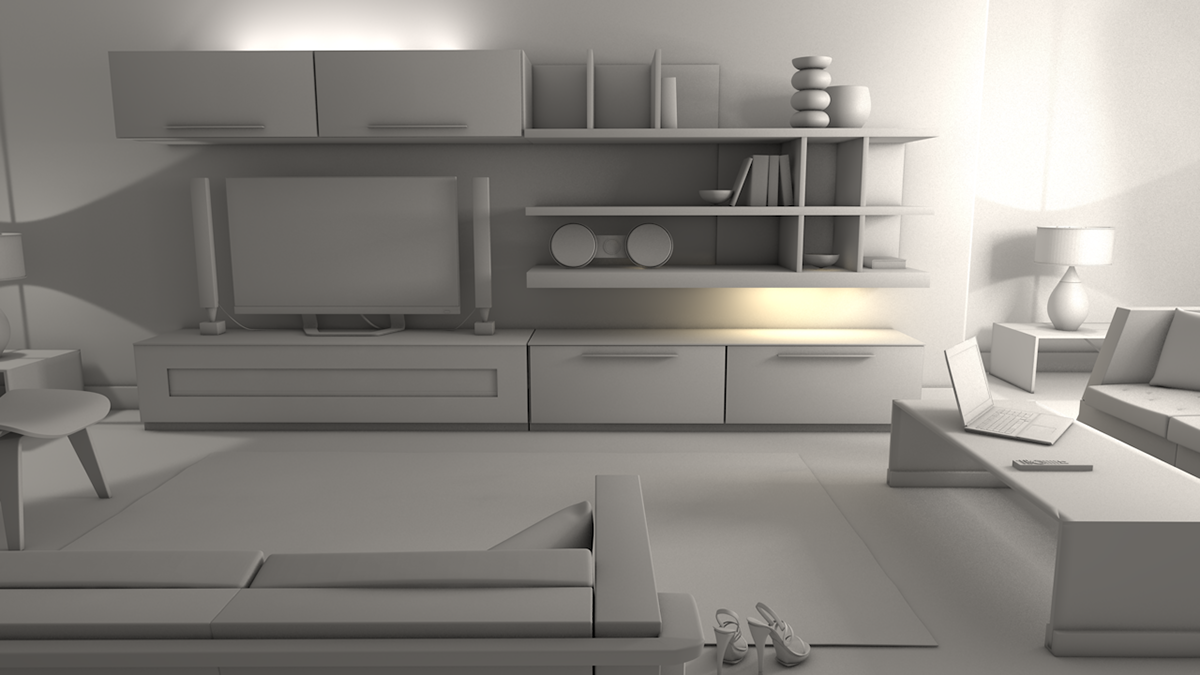
Above: An 80% grey test I did to help me tweak the balance of light. Ultimately I ditched the spotlight setup used here, it was placed off to the upper right of the scene and I just wasn't happy with the control it gave me over balance and shadows. I needed to be able to get a fading from hard to soft shadows at the distances I wanted.
So for the final render I went back to the trusty old area light., as you have seen above.

Above: This is actually the first 'final' image I pushed. But it was with the key as a spotlight and it wasn't giving me the shadows I wanted. Also there were some minor errors I made in my materials that I wanted to fix.
A larger 720p version can be seen here http://imgur.com/6ZggBcg

Above: The raw final output from Cinema 4D, before any post.

Above: Continuing to move and add furniture to get a lived in look.

Above: At this point I had actually sort of finished building the objects that I originally intended to, but it just didn't feel real enough for me. It felt more like a showroom setup so I carried on.
I also added that glossy red material to the wall unit after this, I wanted a little more variety in the types of materials I showed and I love colour.

Above: Light is so important and it's wonderful to just know what to expect with all the various different settings, so in that spirit I tried hard raytraced shadows on a quasi-infinite light setup, I don't remember exactly what I used but it became clear that it wouldn't work. I was pretty sure at this stage that an area light with area shadows was called for.

Above: The rug and tables take shape.

Above: The wall unit was all done pretty quickly, it's a nasty model but from this angle and distance it does fine. I had a PITA figuring out why my glass on the tables wasn't being transparent! I just had to use insanely high transparency, but I'm definitely better acquainted with the transparency and reflectivity layer settings.

Above: Where it all began, even though the models aren't 10/10s, they are fairly detailed and a lot of that detail wasn't even seen in the end. A lot of fun to build though,
Thanks for getting this far, I hope you enjoy the final piece as much as I do!


