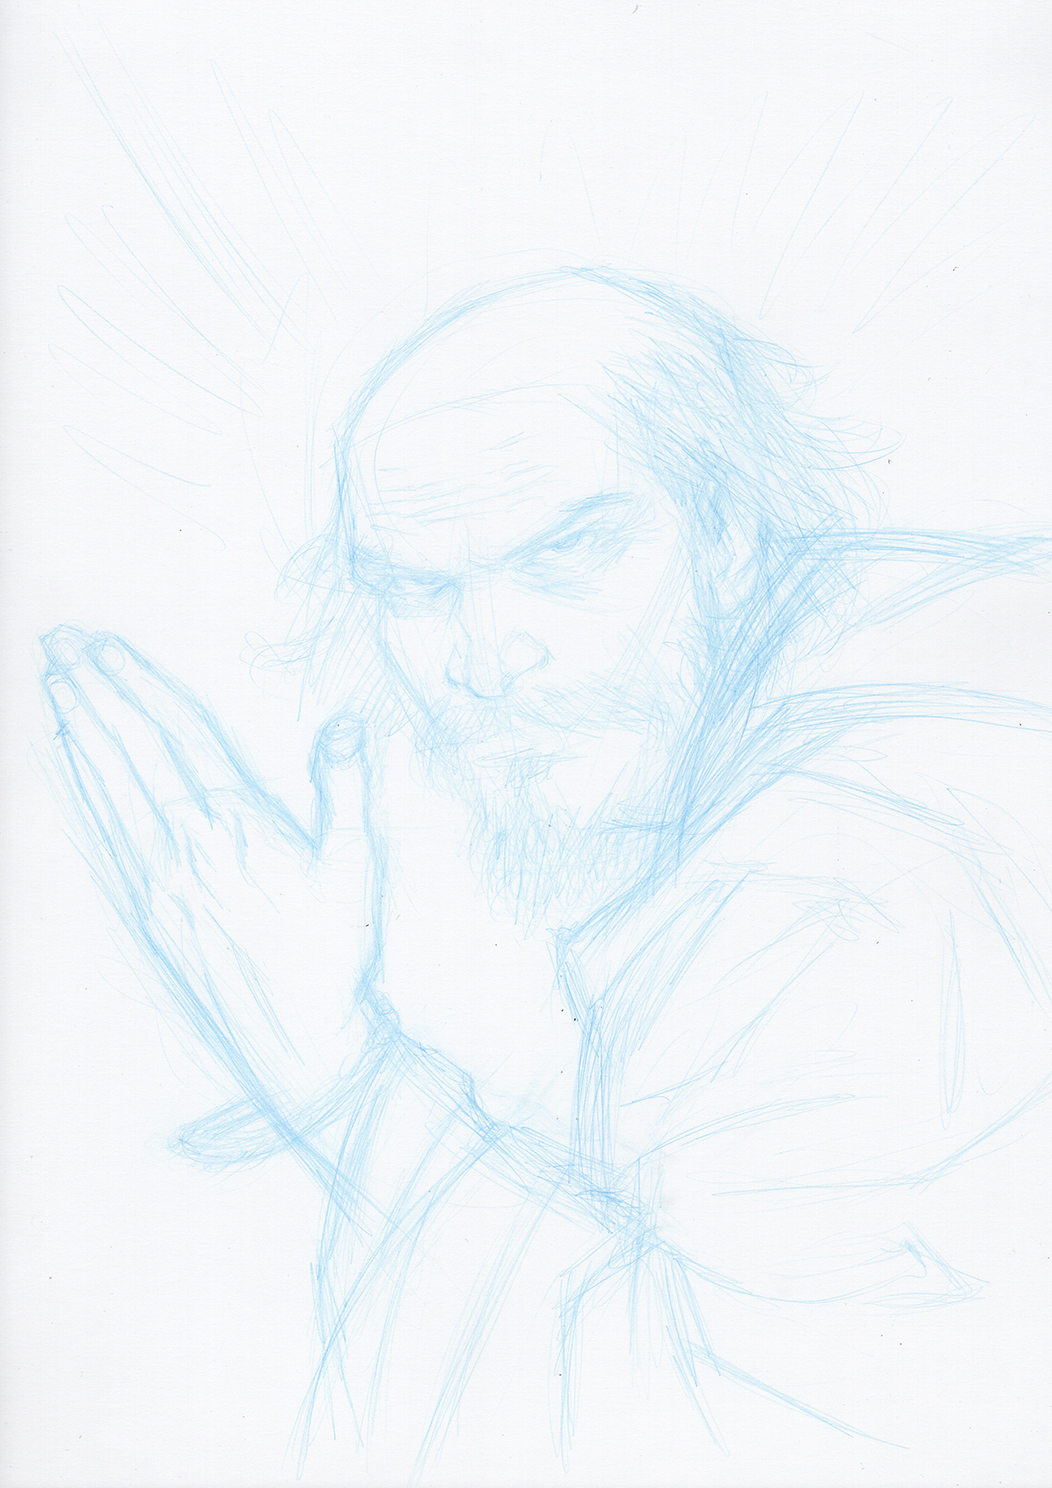
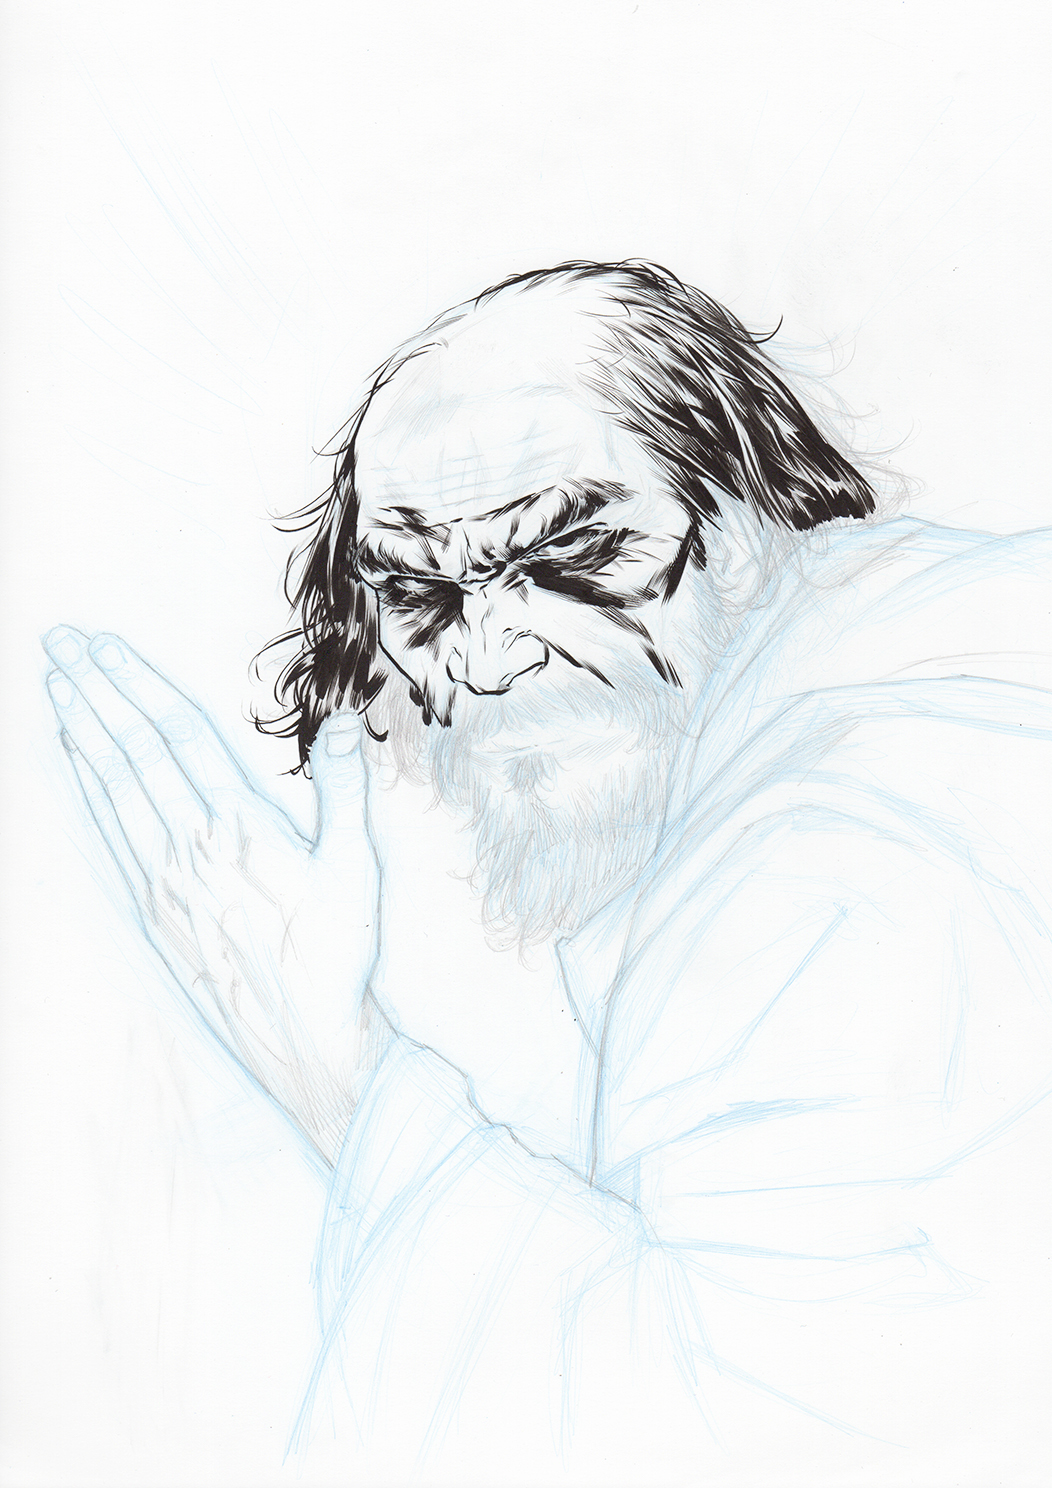
Step #1 - Fast sketch with a blue 0.5mm lead depicting the overall intention and composition.
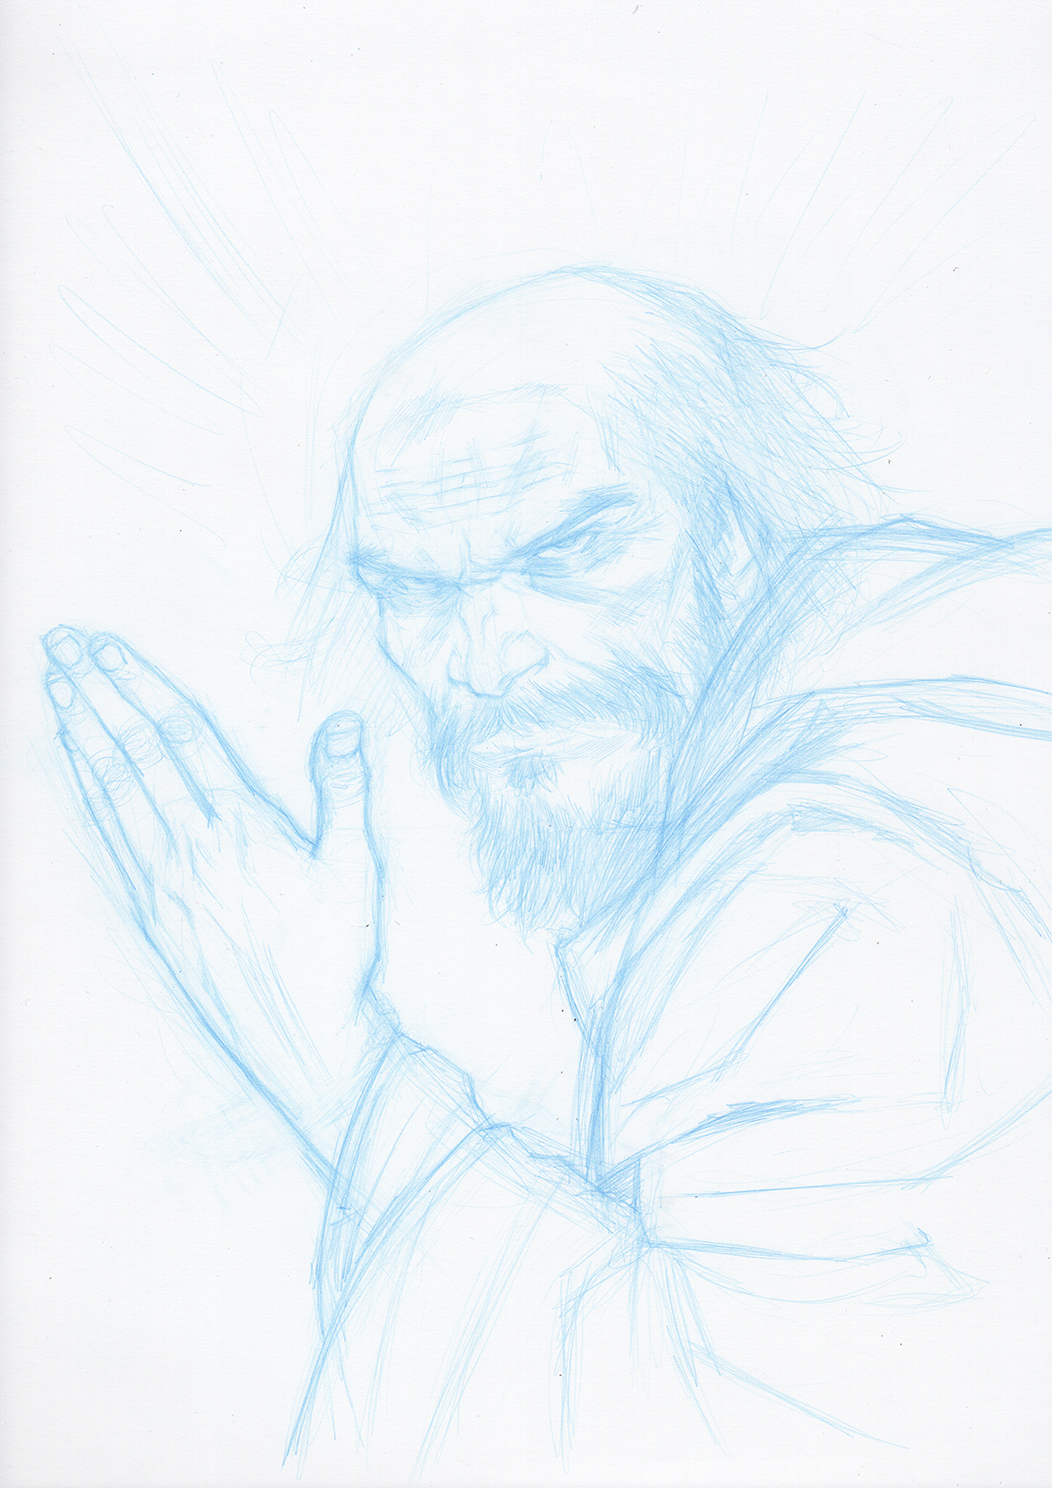
Step #2 - Added some more details with the blue lead, preparing for the final pencil rendering. Length of the hair and beard or the clothing folds, are defined at this stage.
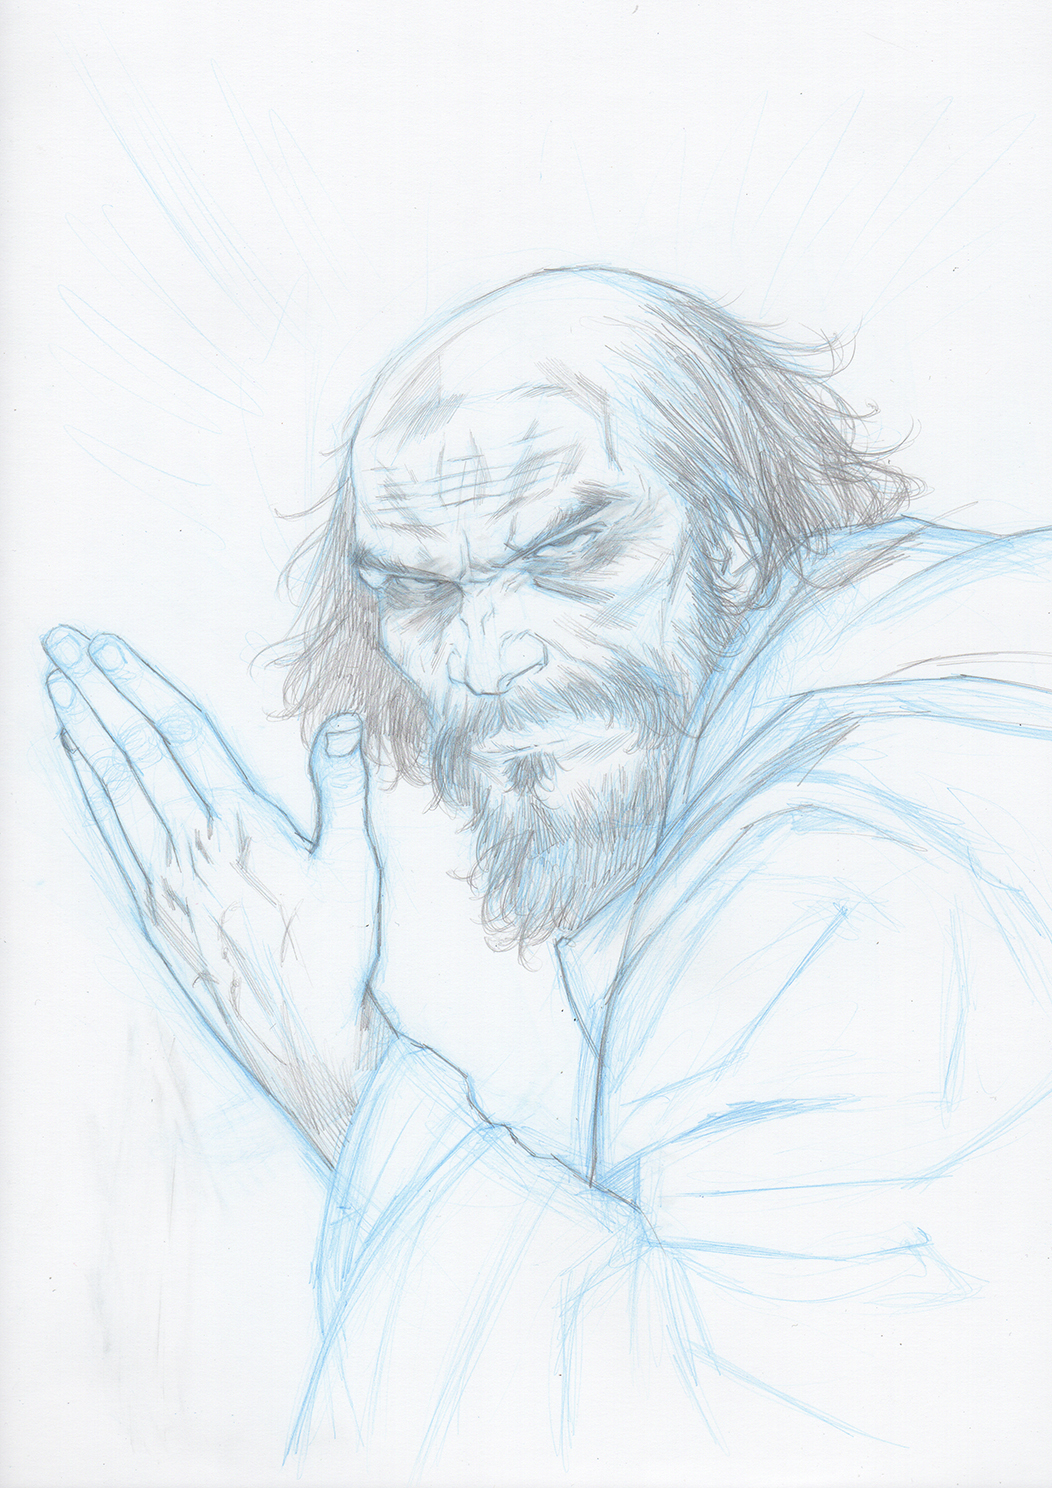
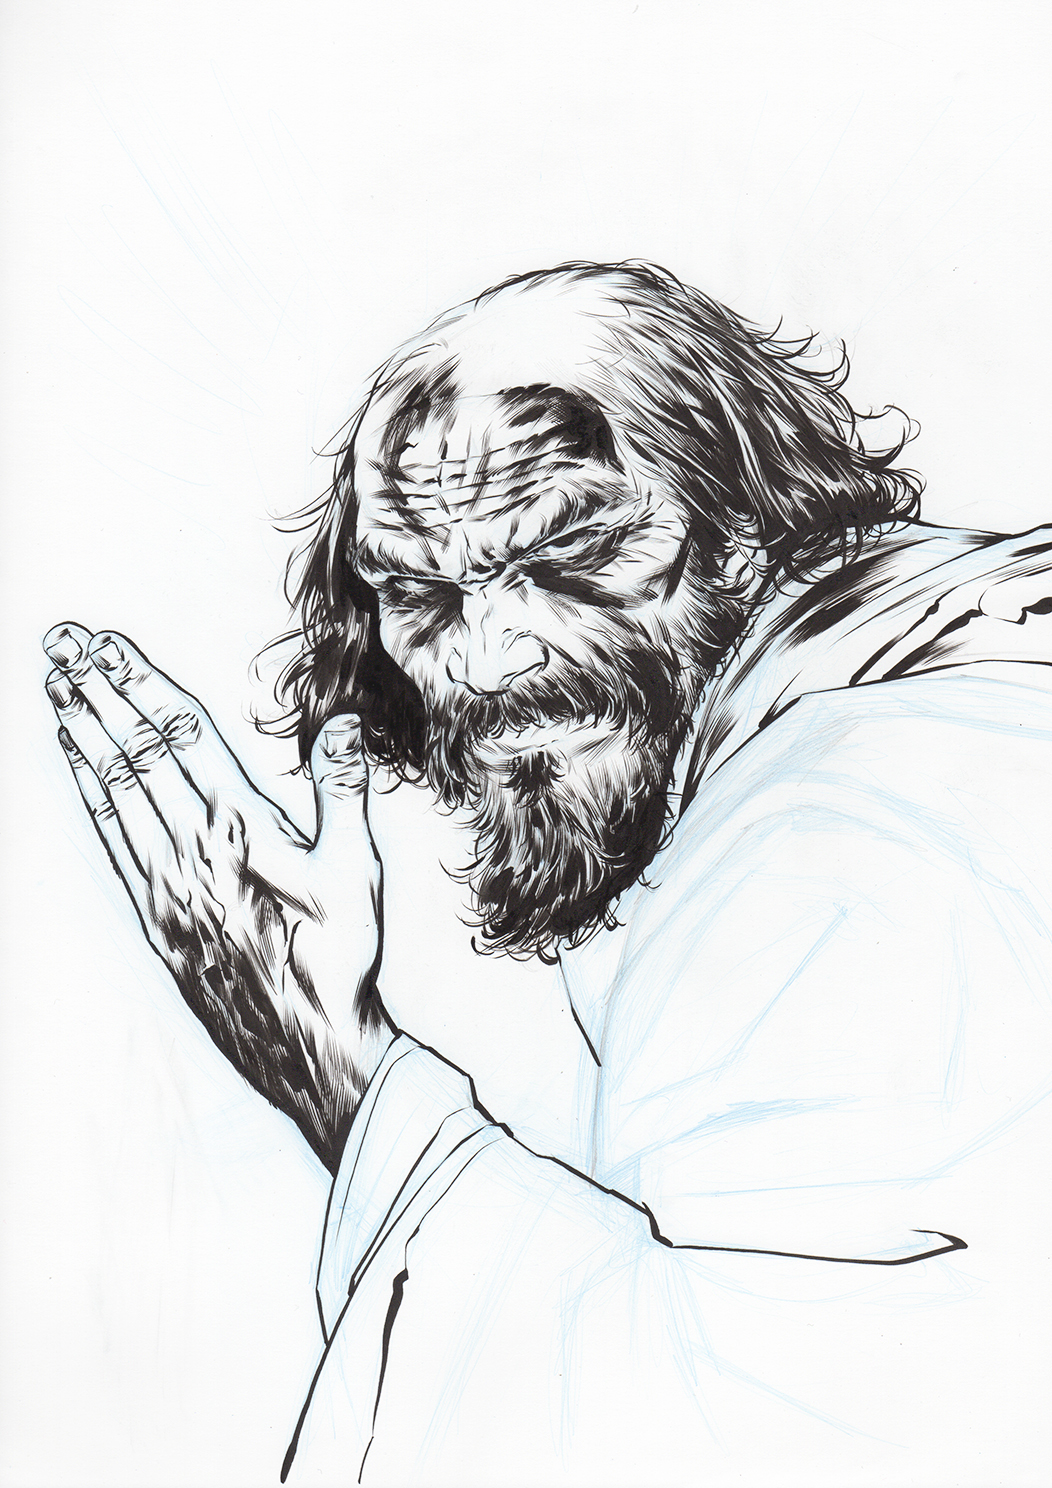
Step #3 - Pencil rendering using a 0.5mm and a 2mm lead. Now the drawing is ready for the inking! I know where and how all the important stuff will be.
Step #4 - I decided to ink with a brush and in this case, I used a Pentel pocket brush. I usually start inking from top to bottom and normally I start with the eyes.
Step #5 - I continue the inking process, top to bottom, left to right.
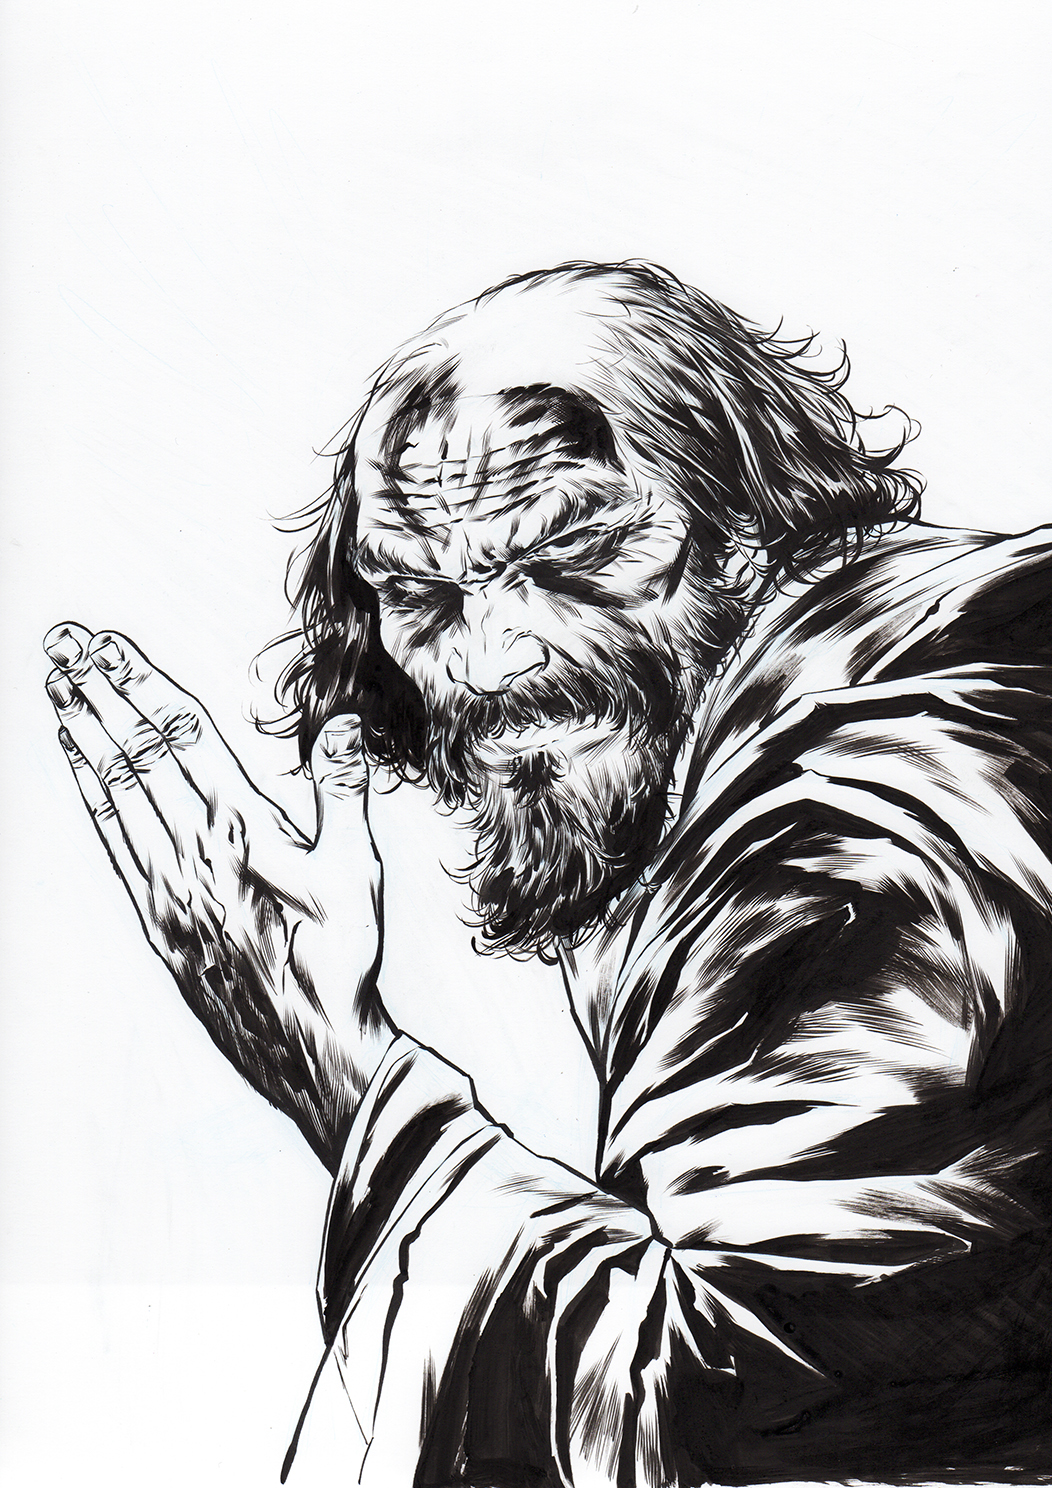
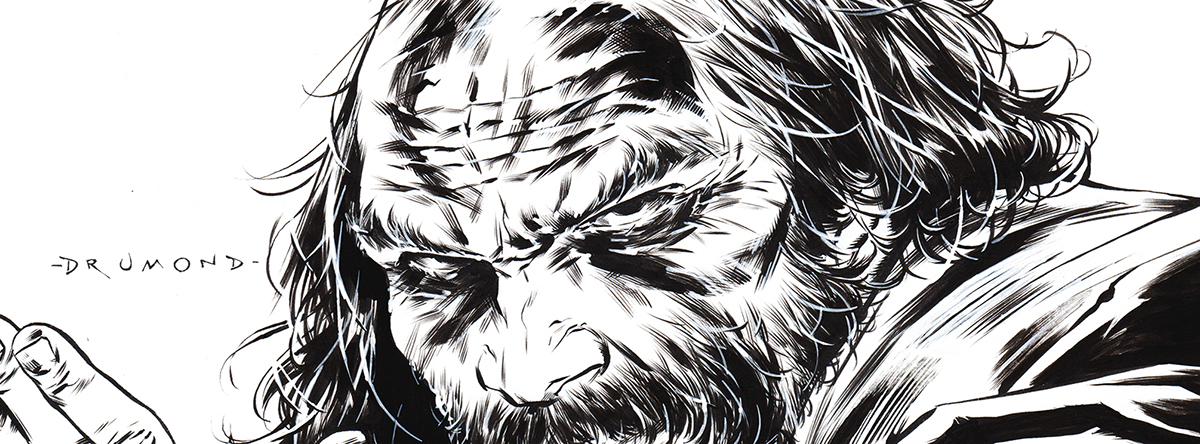
Step #6 - The black inking is all done. The drawing is pretty much how I want it to be, but the next step will give it more personality, more strength!
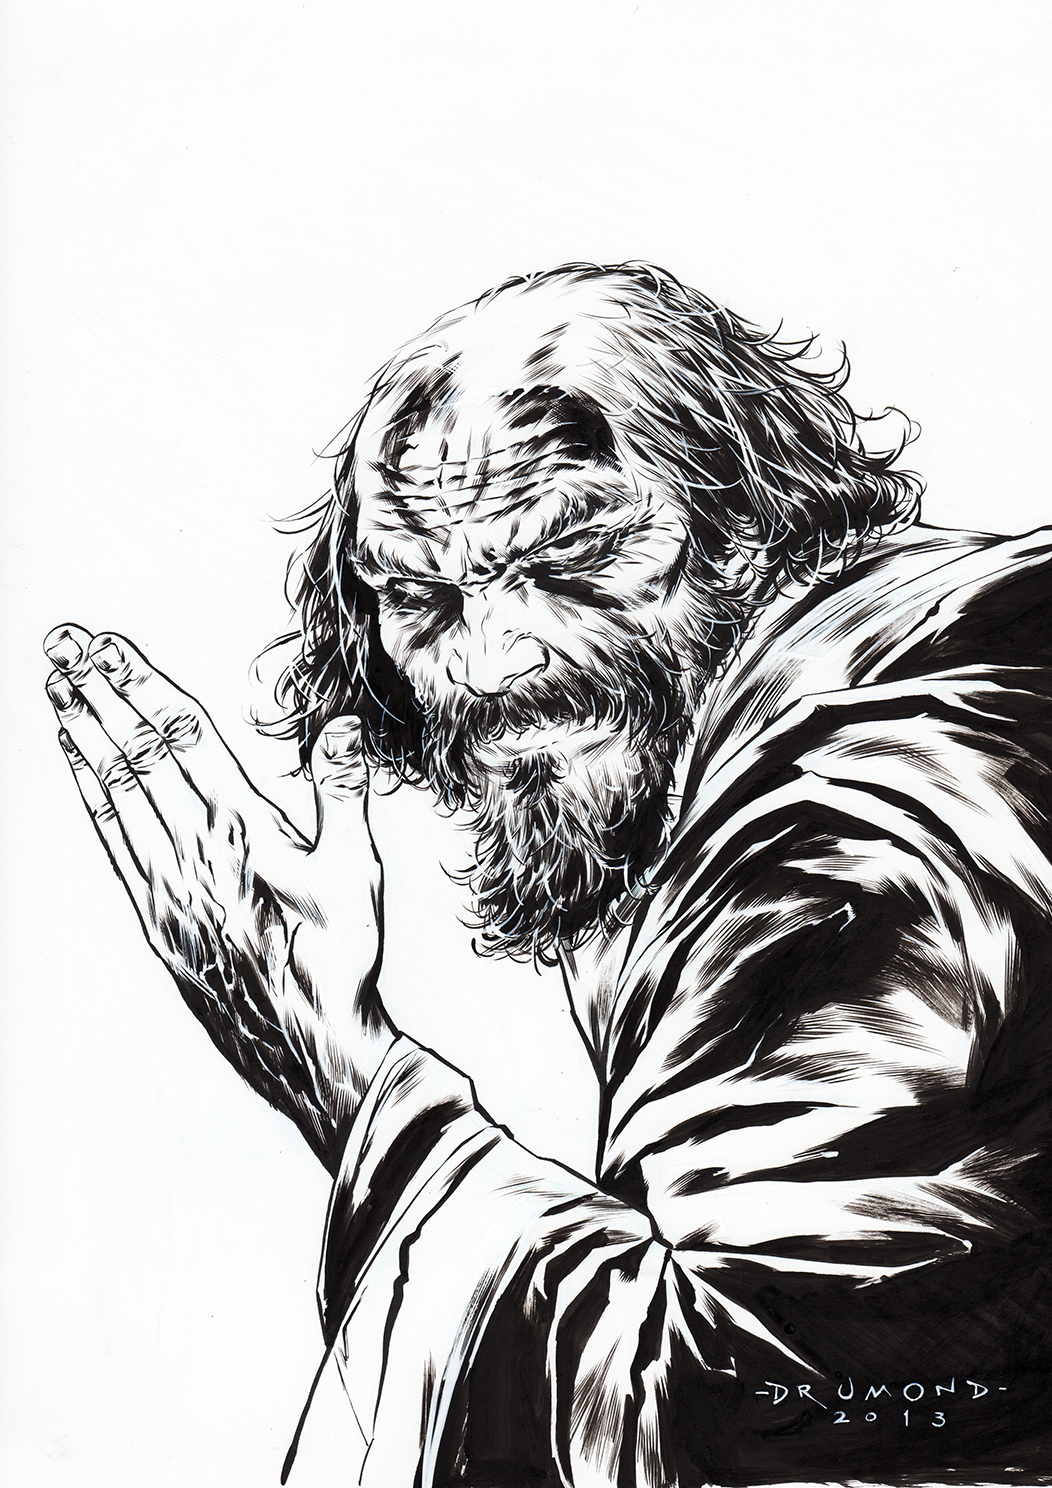
Step #7 - I do all the highlights, textures and add some more details with white acrylic. This brings the illustration to life! Now it is ready to scan!
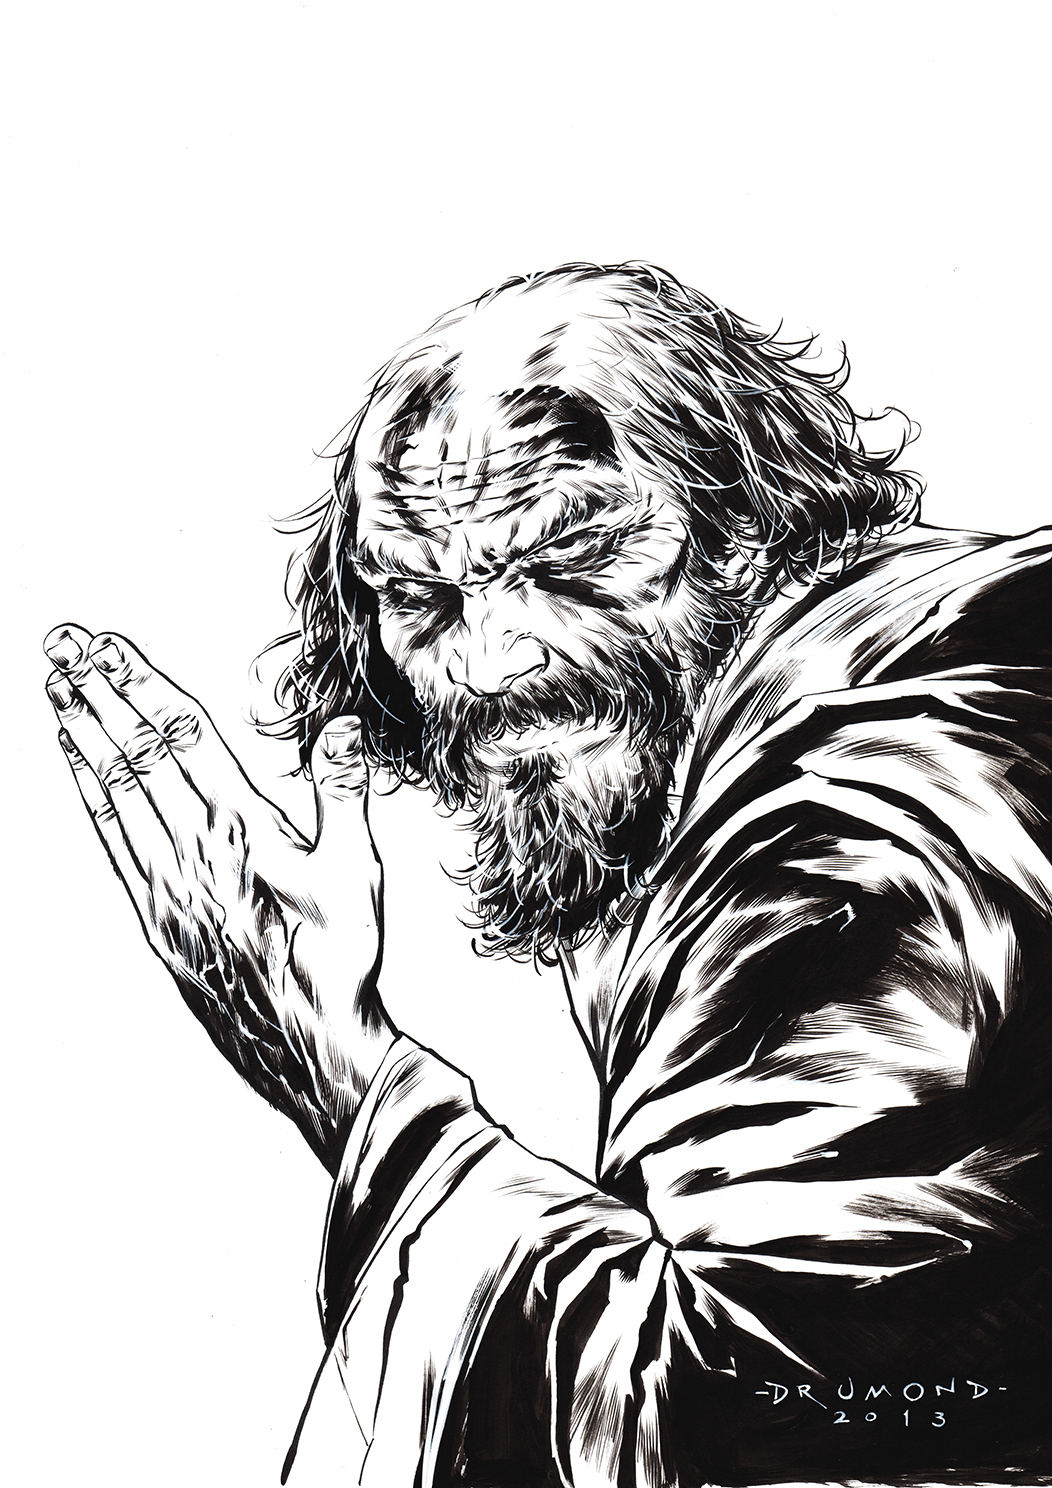
Step #8 (Final) - I scan the image and add a little more contrast, or edit it if I have some things I want to change or correct. This one is ready to print, to paint, to do whatever I want with it! :)
--------------------------------------------------
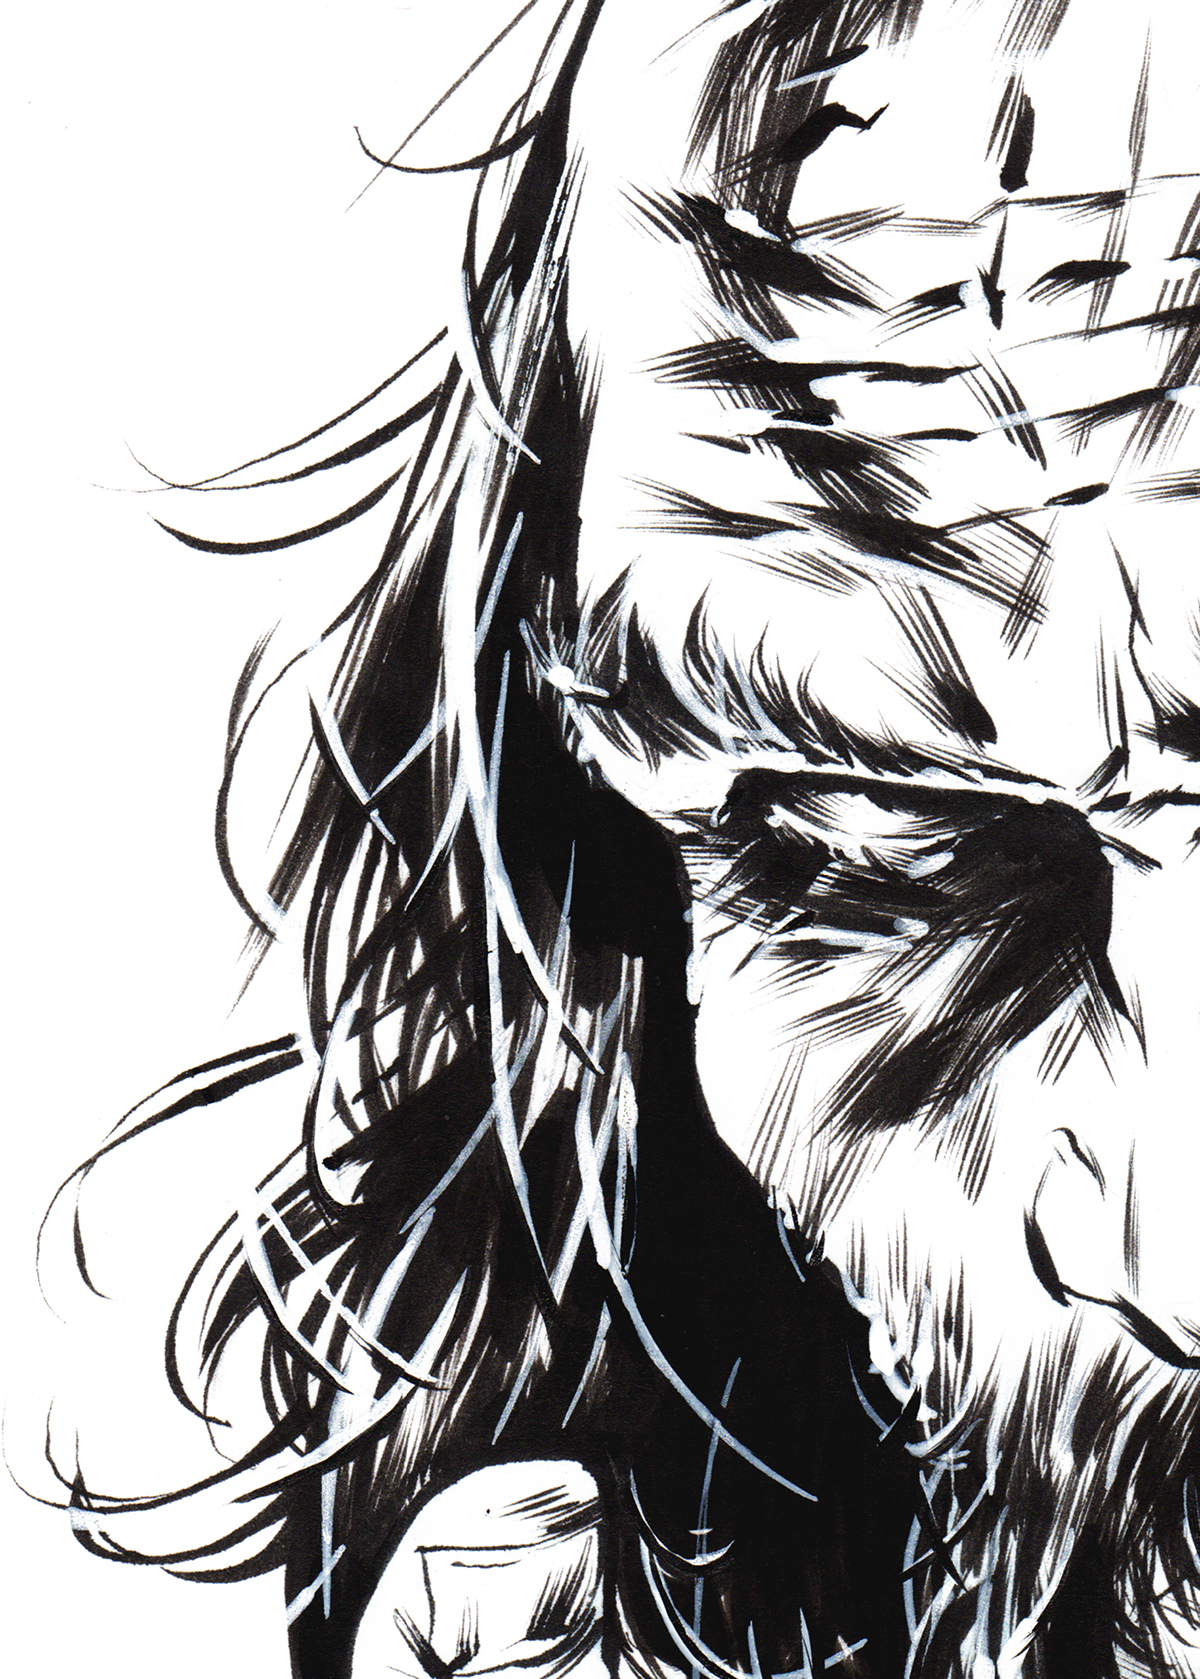
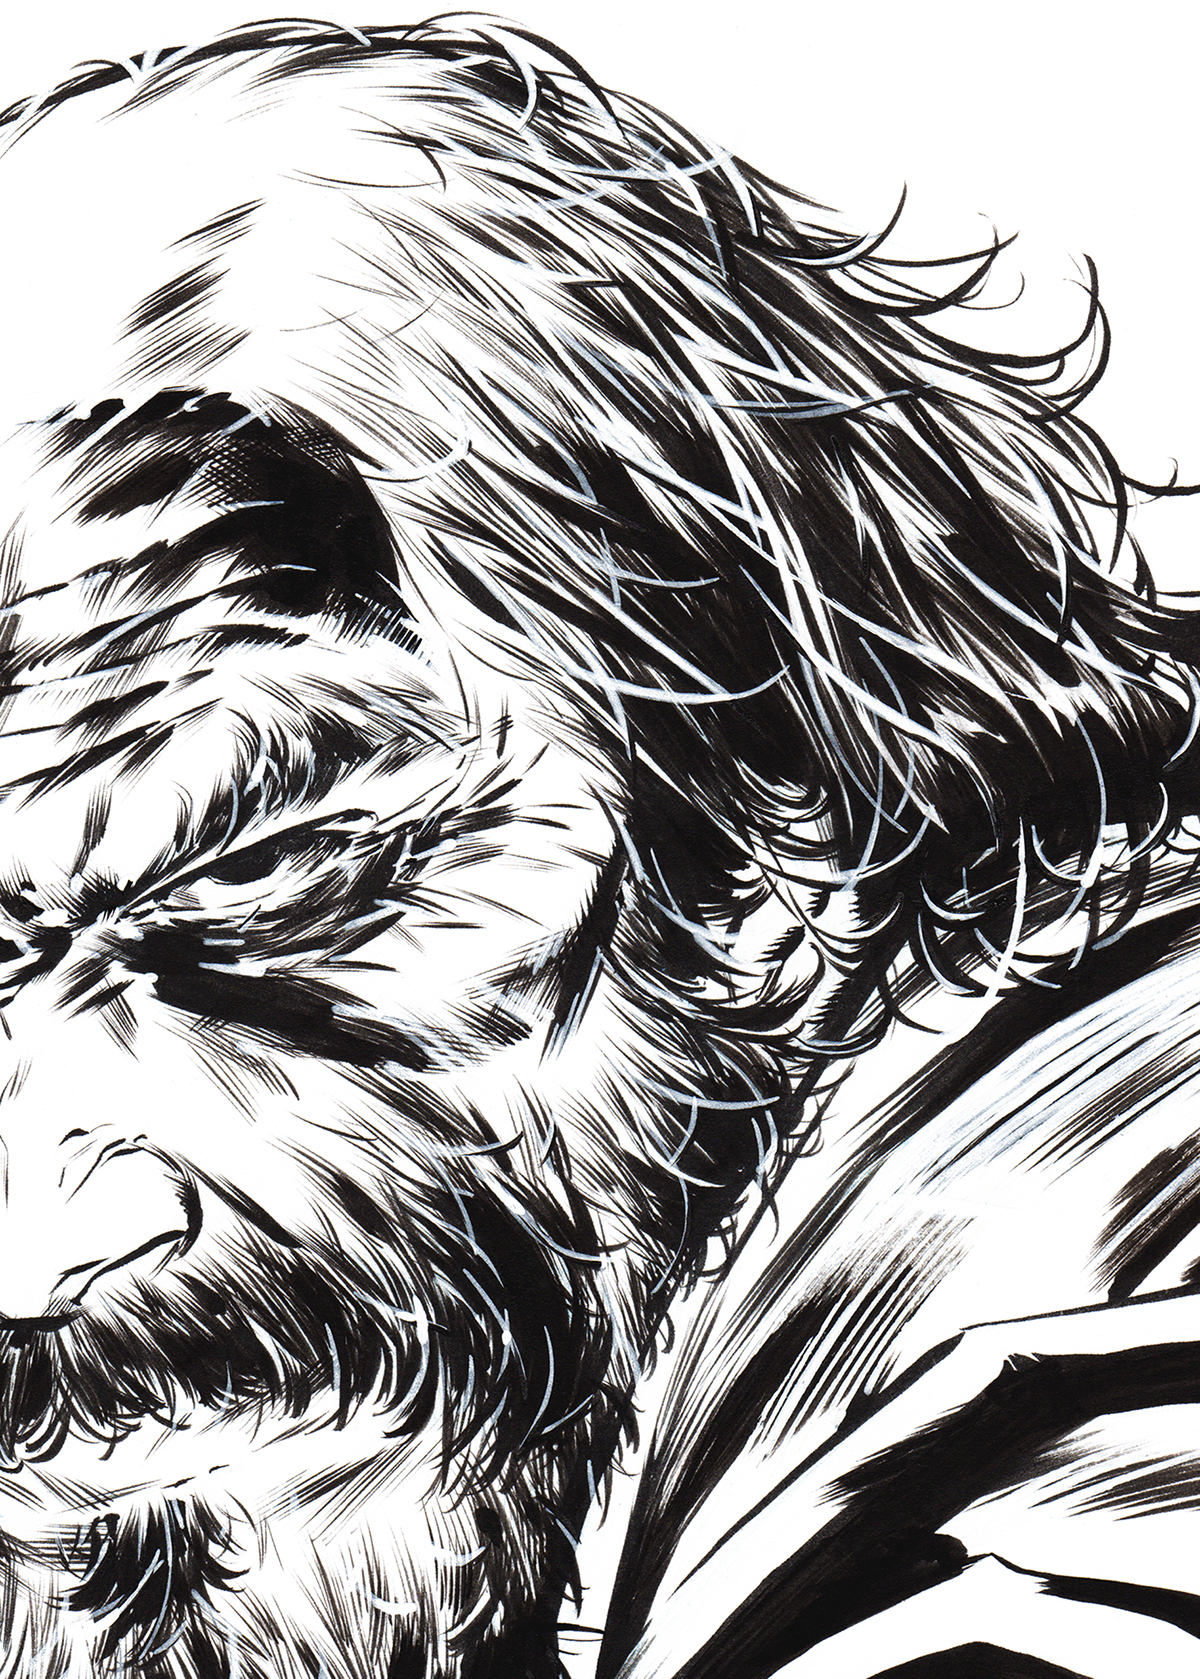
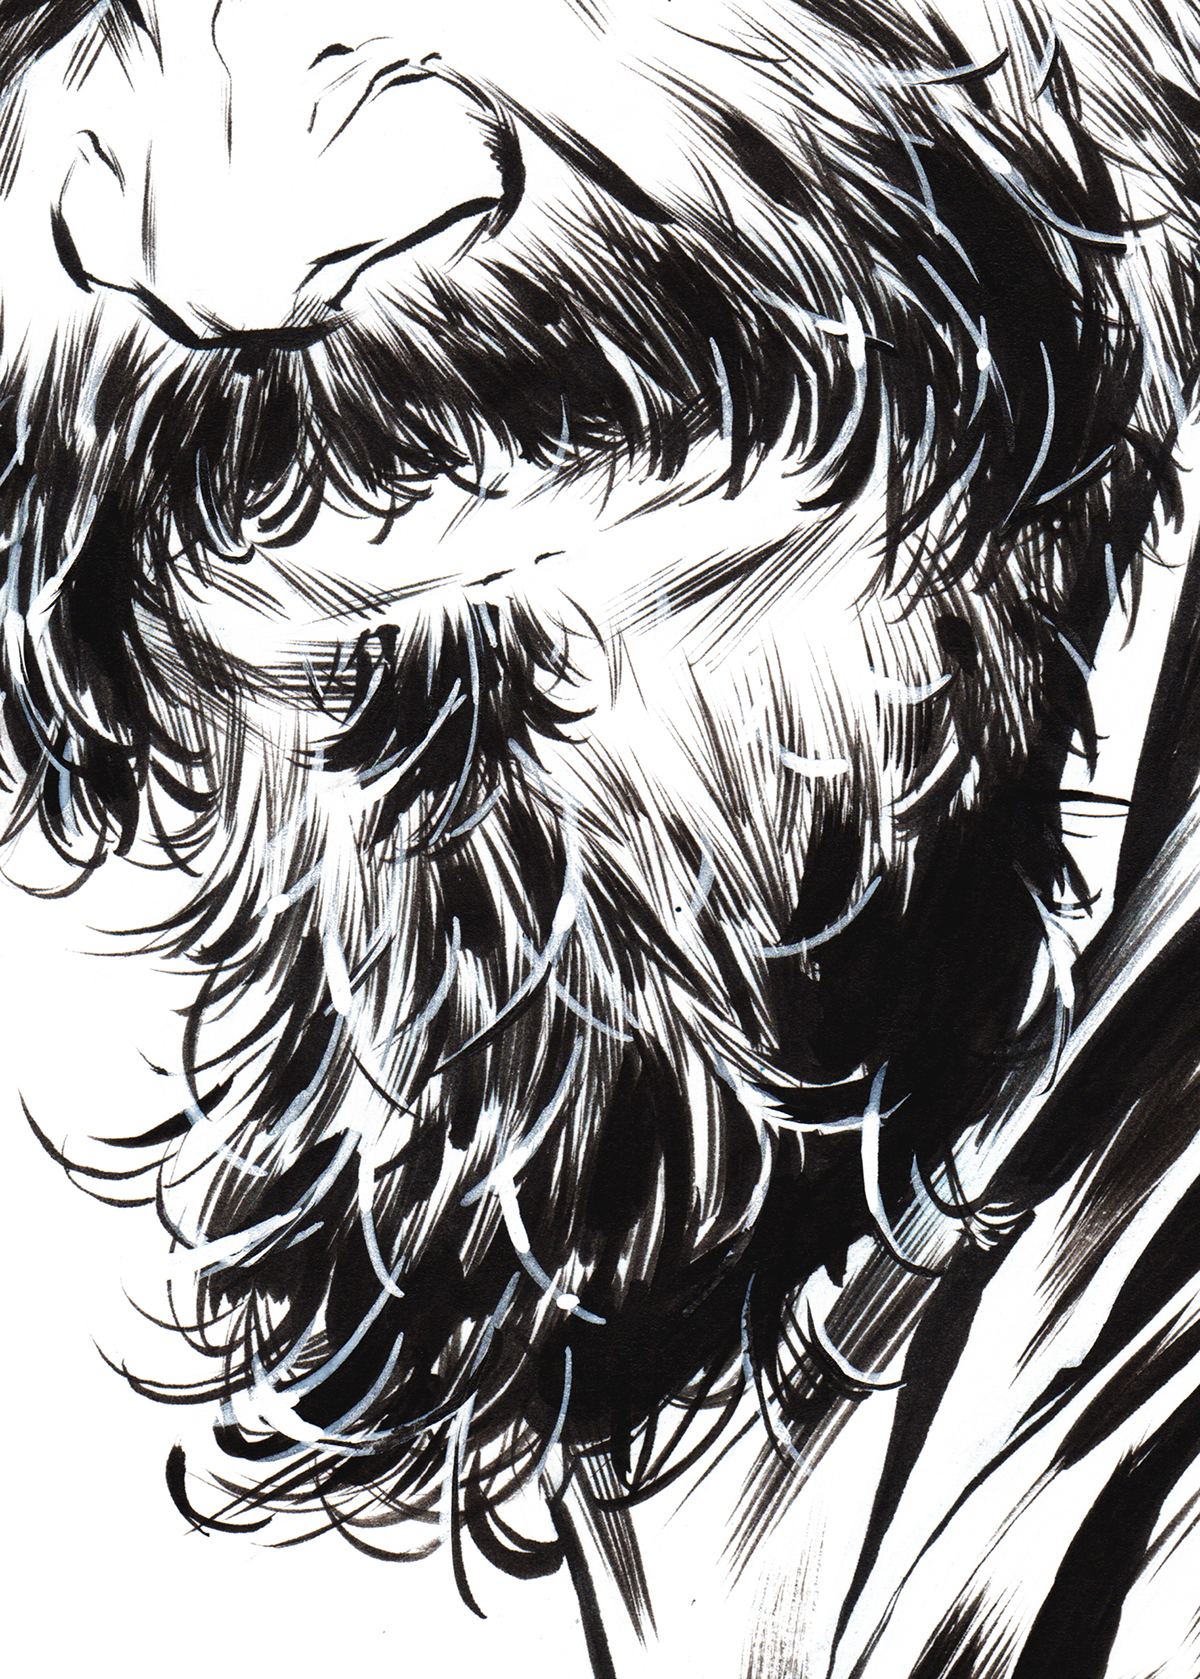
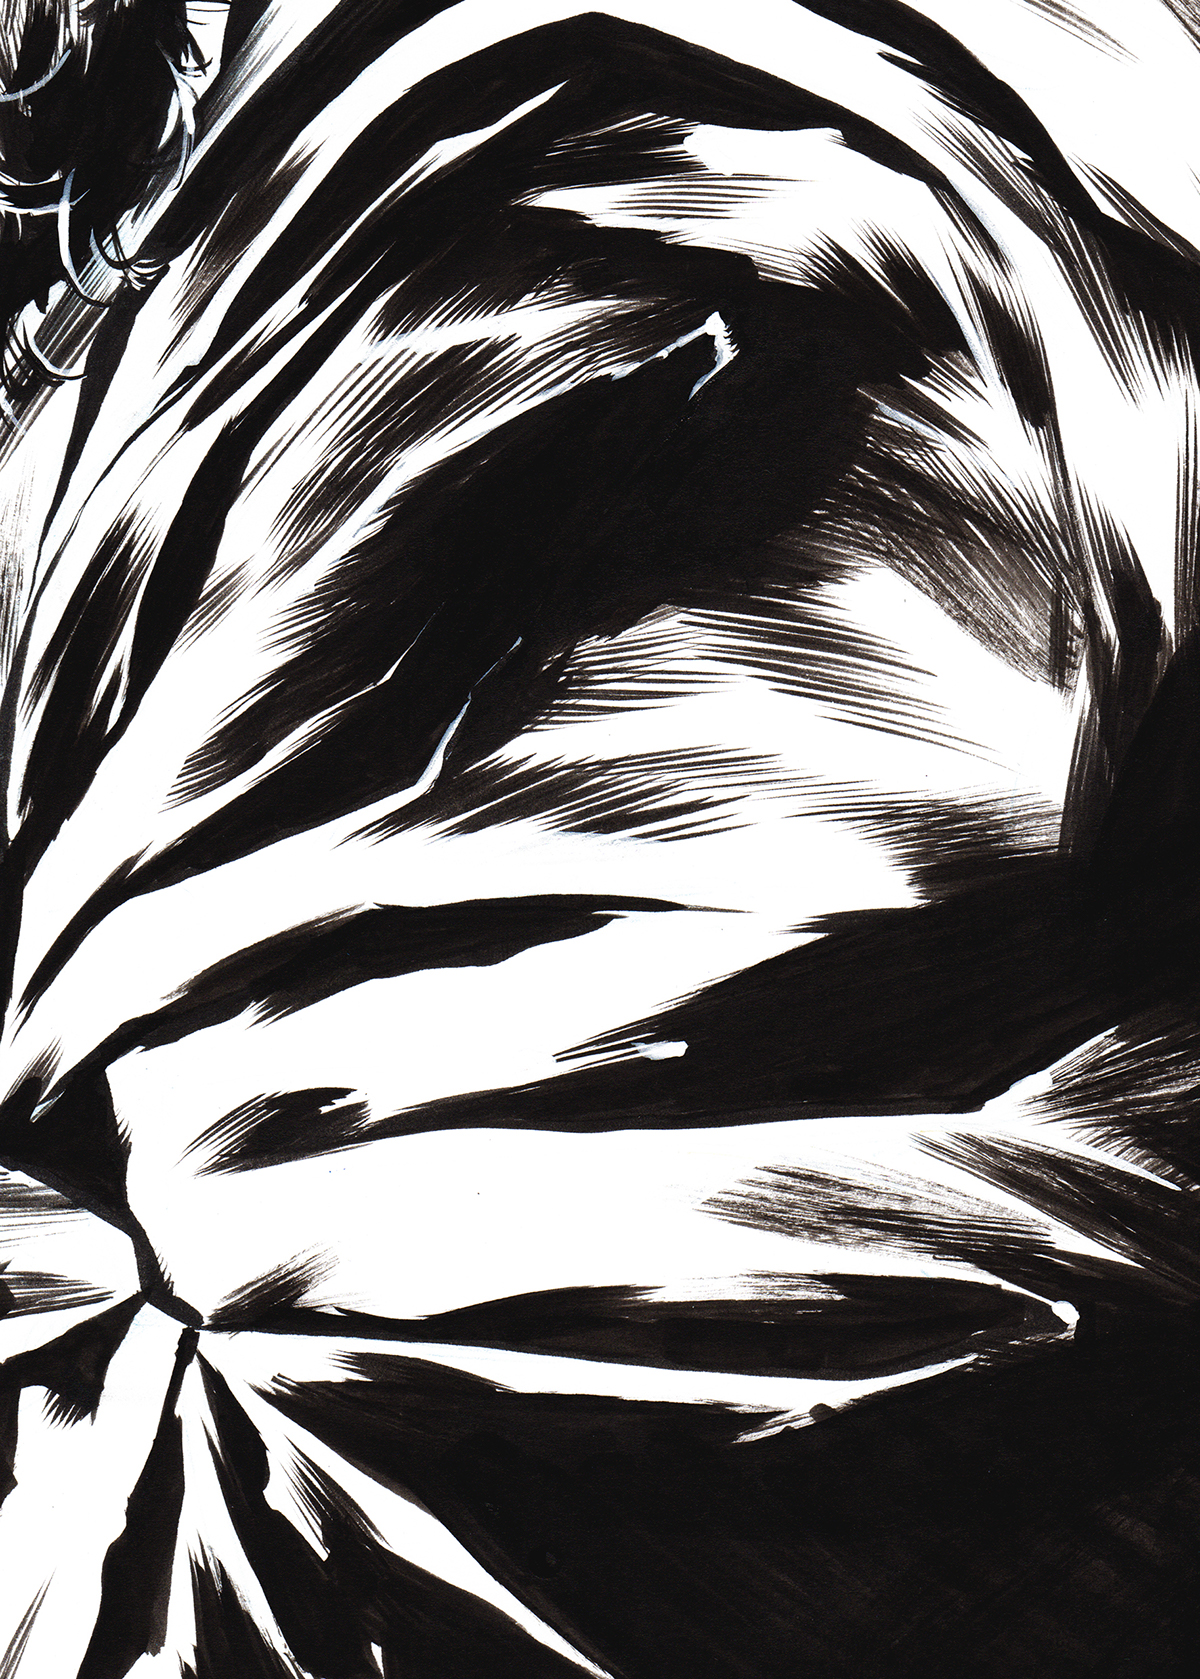
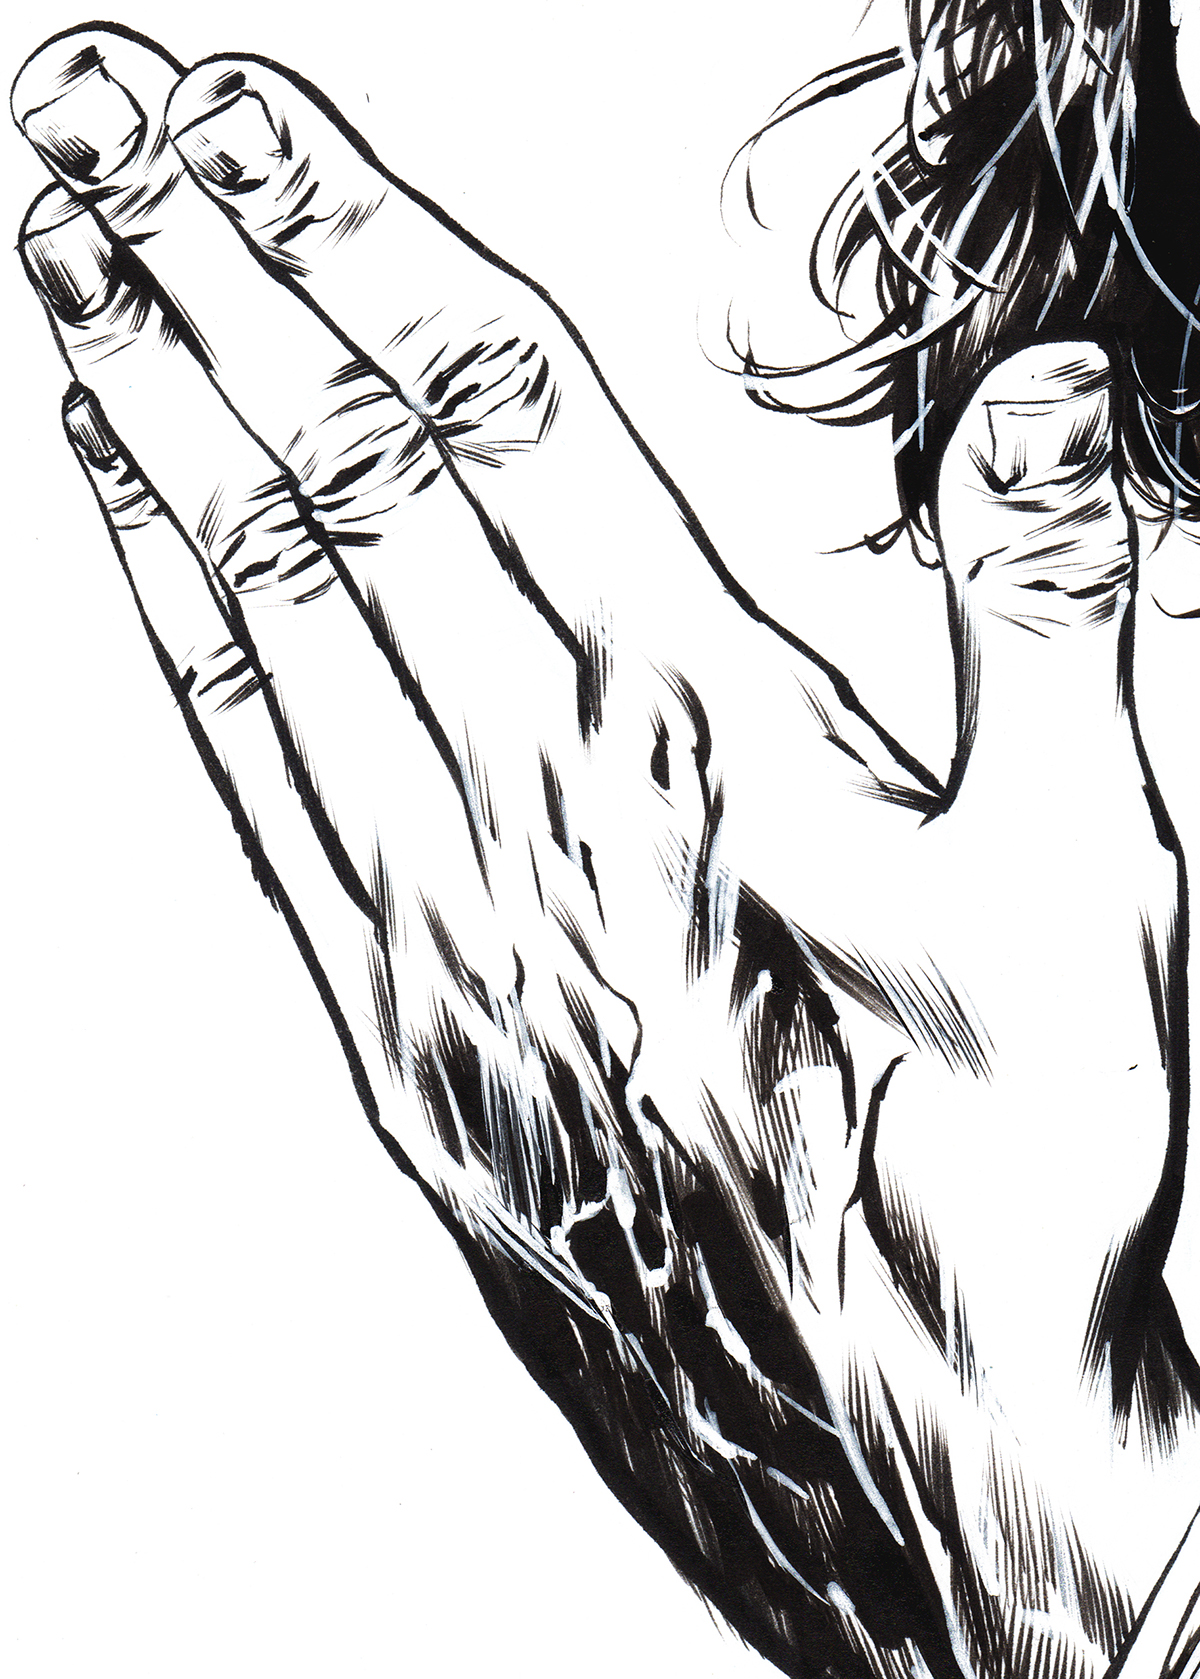
Details
--------------------------------------------------
--------------------------------------------------
Thank you! :)


