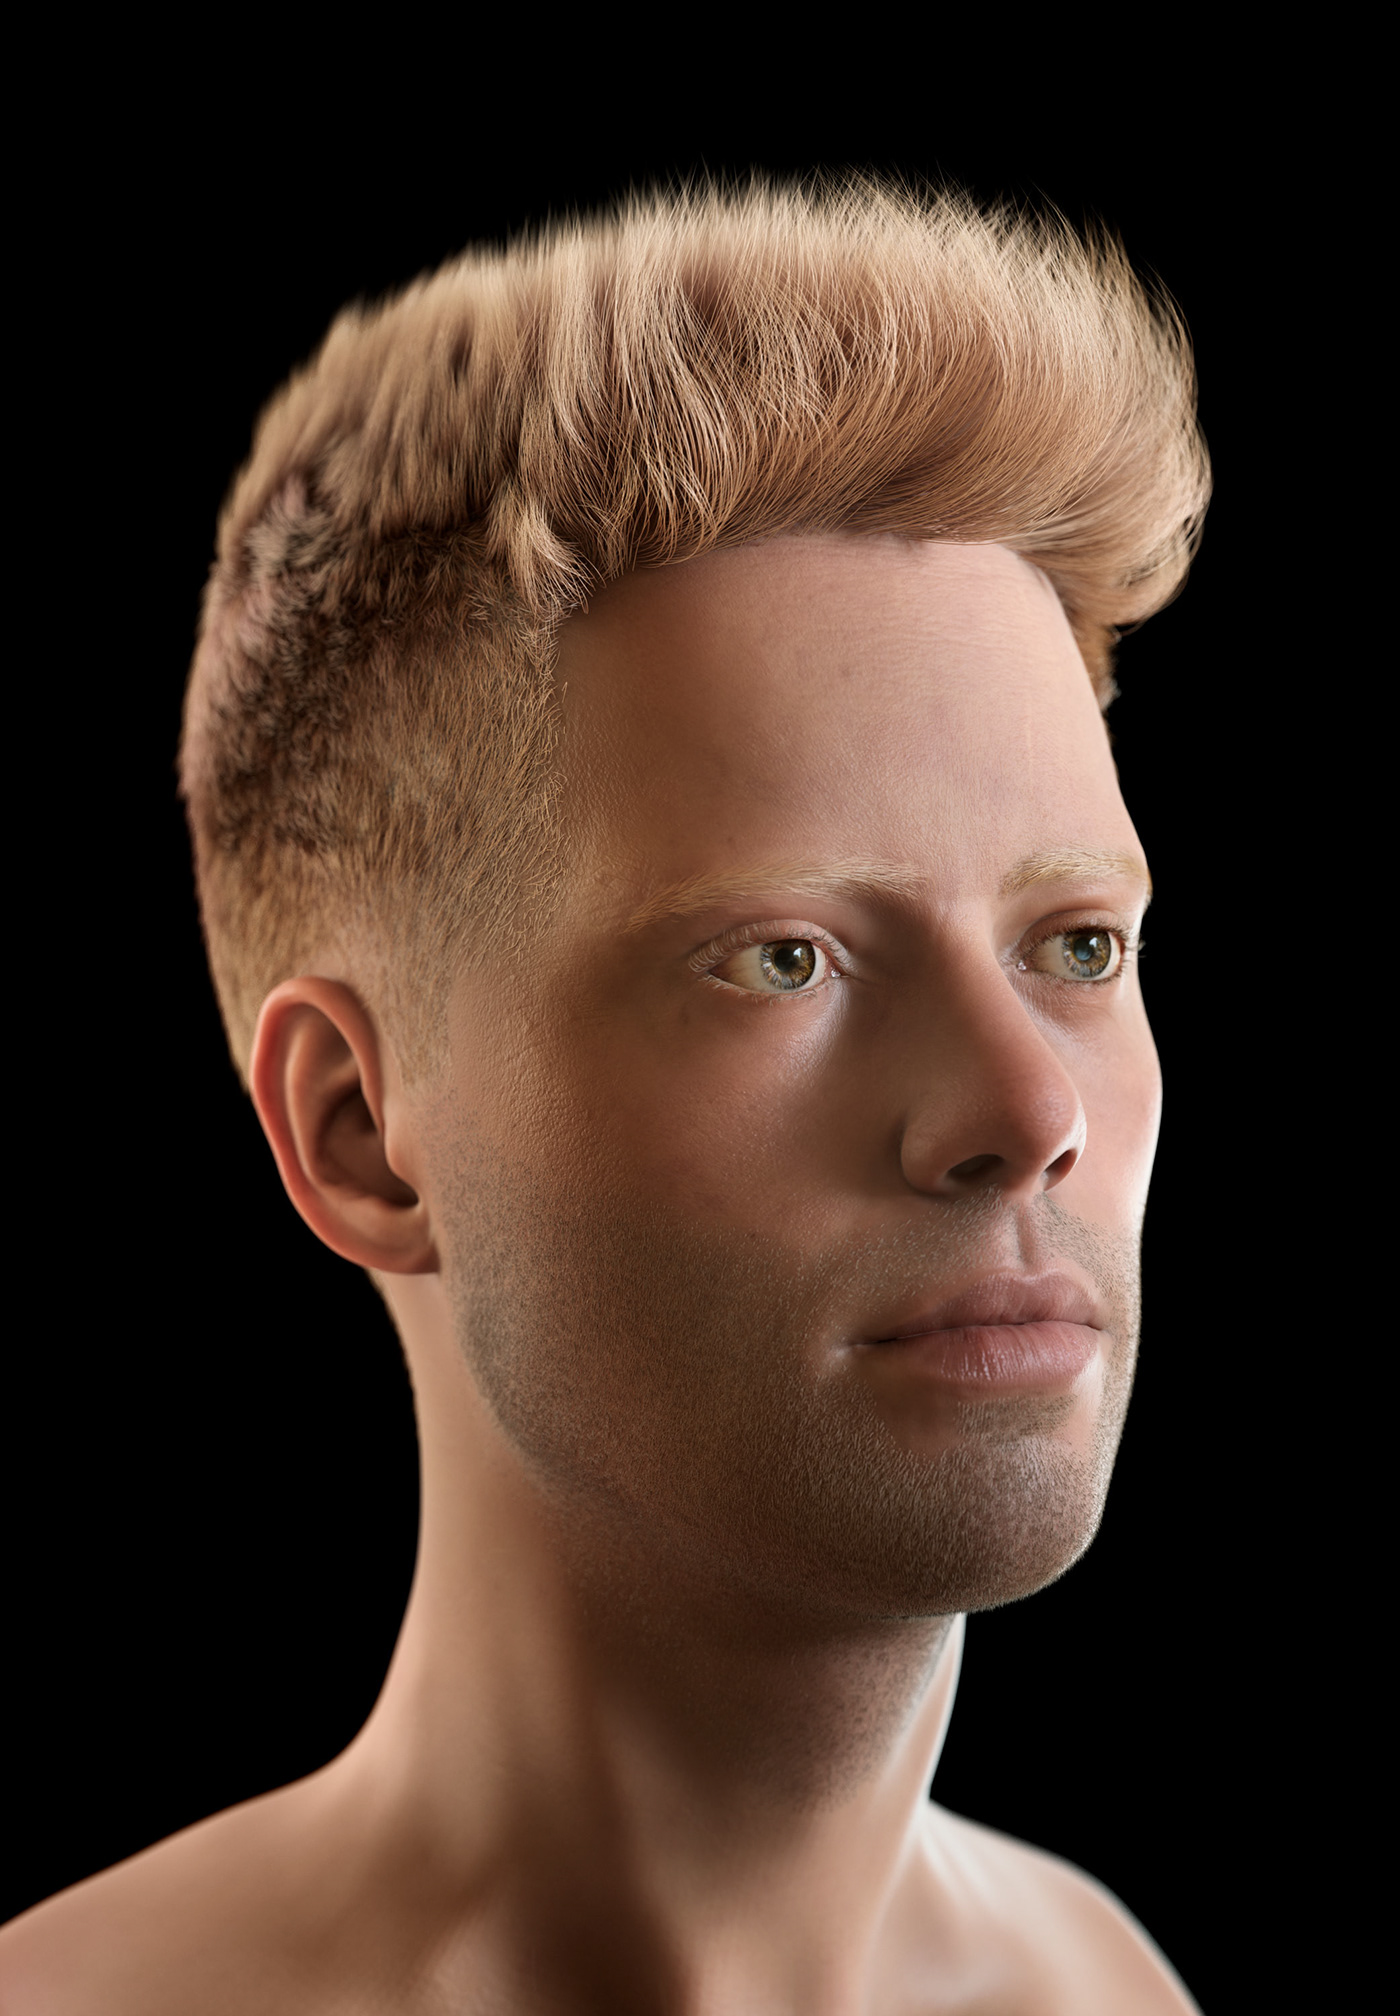


I had the awesome opportunity of working with NØ SIGNE to create a more realistic version of his Avatar for animation and promotional purposes. The entire head is only 145,00 polygons for use in Unreal.
I started with a rough 3D scan of his face, and began projecting it to a purchased basemesh that had correct typology/UV’s in Zbrush. From there, I used face reference images to sculpt and model his face until we were both satisfied with the result.
I used an XYZ texture facescan for the albedo and displacement map, and I puppet warped the images in Photoshop to the wireframed UV layout. I then imported the obj from ZBrush and my new albedo/displacement map into Mari to do more projection painting in places that needed it. Here is where I painted the specular and roughness map as well.
From there I exported all of the textures and did a rough skin material in Maya with Arnold and began creating the hair in XGEN. See my timelapse below for some behind the scenes on that. I created four different descriptions, the top of the hair, eyebrows, eyelashes, and the beard.
Then I exported the hair as splines and imported it as hair in Cinema 4D (since this is where most of the rendering and future animations will be taking place). I used Octane to create a custom skin material, and a custom hair material for each hair description.
The next step will be to remake the outfit using Marvelous Designer.
https://ninamariephotography.com/portfolio/nosigne/
https://ninamariephotography.com/portfolio/nosigne/
